
Understanding the import tool
Importing and exporting use the template for the module you are working in. Go to the relevant list —such as Contacts, Companies, Deals, or Tasks— and open More actions: the three-dot button in the top-right corner of the table. From there you can Download template, Import, and export selected records. It’s the standard route for adding many records at once or for updating existing data in bulk, with no need to use the API or ask support for anything.

Upload and review an import
Section titled “Upload and review an import”After choosing Import, select the file from your computer. Prolibu opens the Import data panel in the bottom-right corner and confirms the result of the upload there — for what each counter shows and how long it stays on screen, see Viewing and analyzing previous imports.
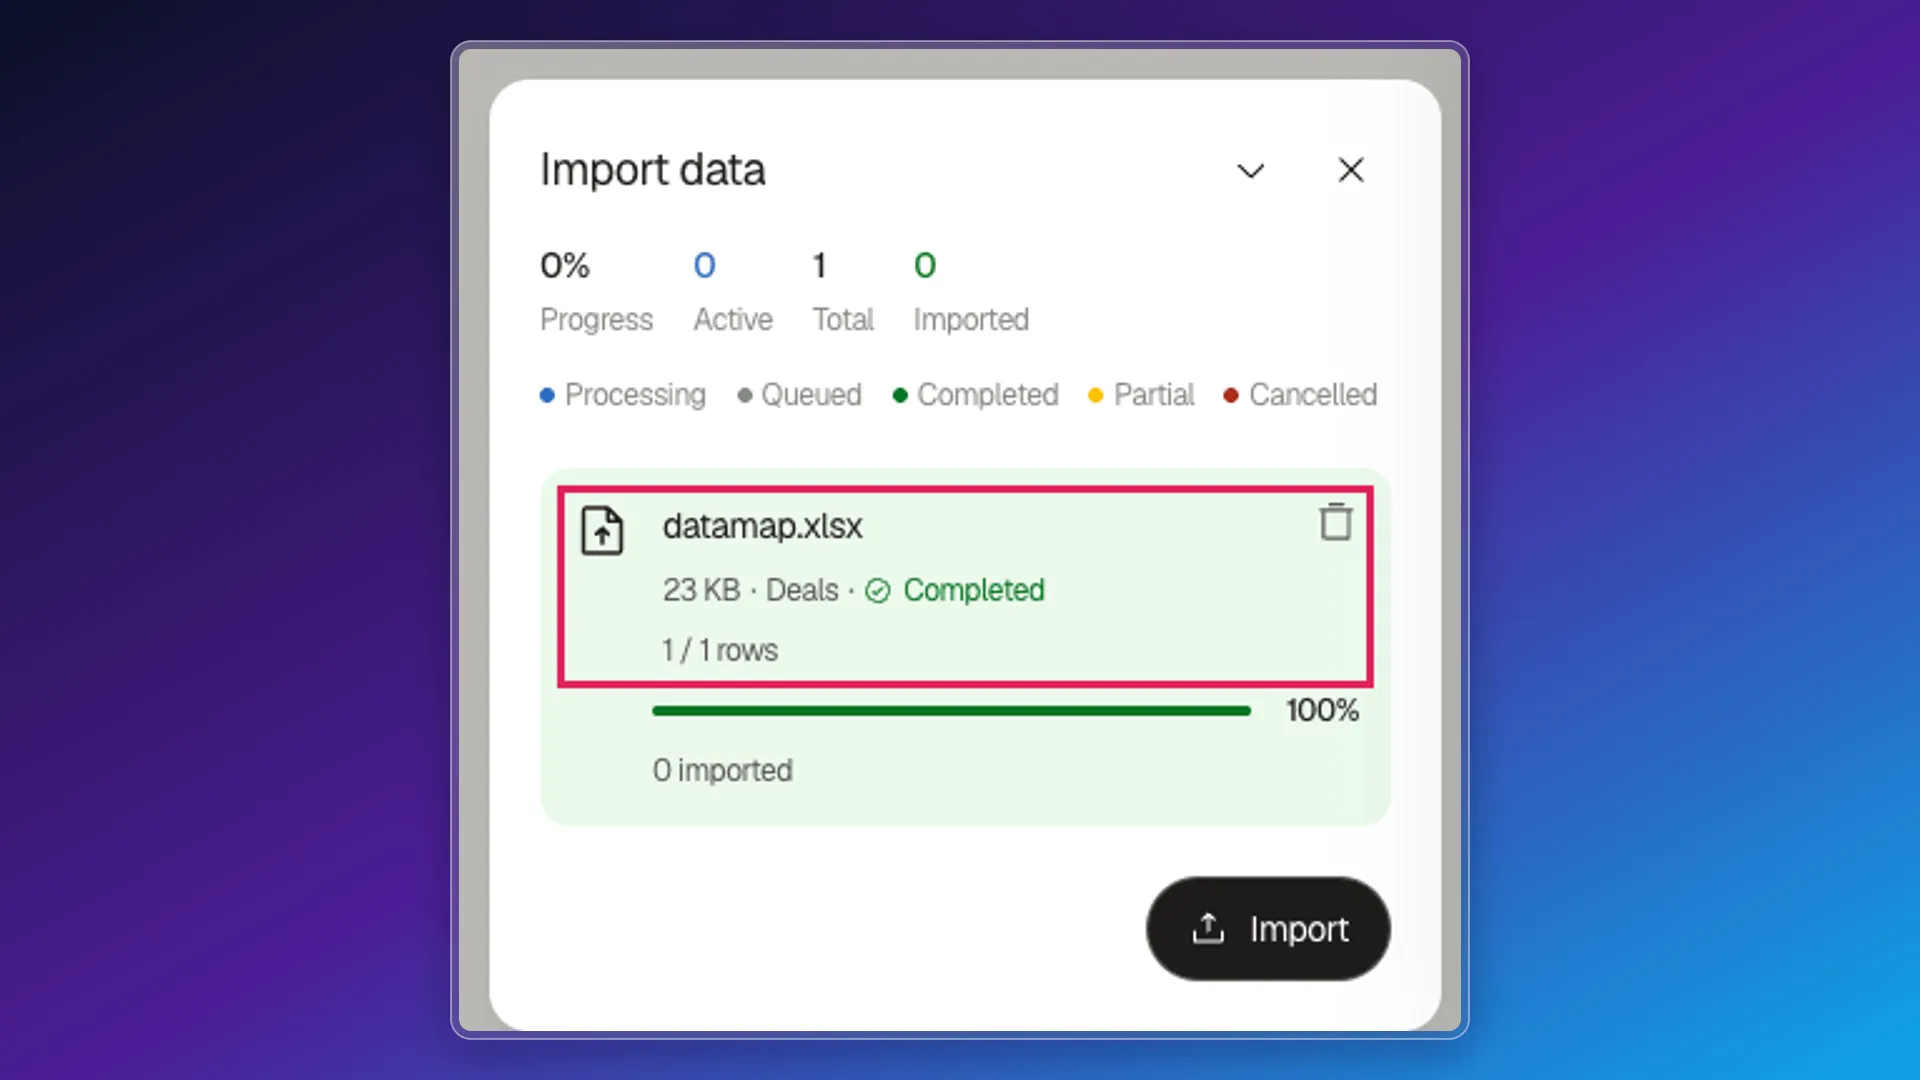
If a row fails, the Errors counter reflects it and a “View errors (N) →” link appears — see Reviewing and troubleshooting record import errors for how to read the error log.
What a template contains
Section titled “What a template contains”Each file adapts to the object it was downloaded from. The Deals template, for example, includes the README, datamap, and Deal sheets. Their roles are:
- README: contains the technical instructions that accompany the file. Read it when you need to understand the process, but do not enter records there.
- datamap: defines the relationship between each sheet and the Prolibu object that will receive the data. It is configuration information; do not change its headers or values.
- Object sheet —for example, Deal—: this is the sheet you complete. Each column represents an importable property for that object.
The object sheet contains identifiers and references, primary data, relationships, and custom fields. That is why columns differ between Contacts, Companies, Deals, and other modules.
Do not change headers or remove the helper sheets. Complete only the columns you need and leave the others blank. One row represents one record.
Complete and upload the file
Section titled “Complete and upload the file”- Download the template from the correct module.
- Find the object sheet and complete its required fields: each object has its own — dealName in Deals, companyName in Companies, title in Tasks. If it’s missing, the row is rejected with “Invalid required value ‘<field>’” in the error log.
- Complete optional values and relationships as needed: assignee, collaborators, stage, tags, priority, and custom fields appear only when the object supports them.
- Save the file without renaming its columns.
- Return to the same module, choose More actions > Import, select the file, and review the data before confirming.
Where each step continues
Section titled “Where each step continues”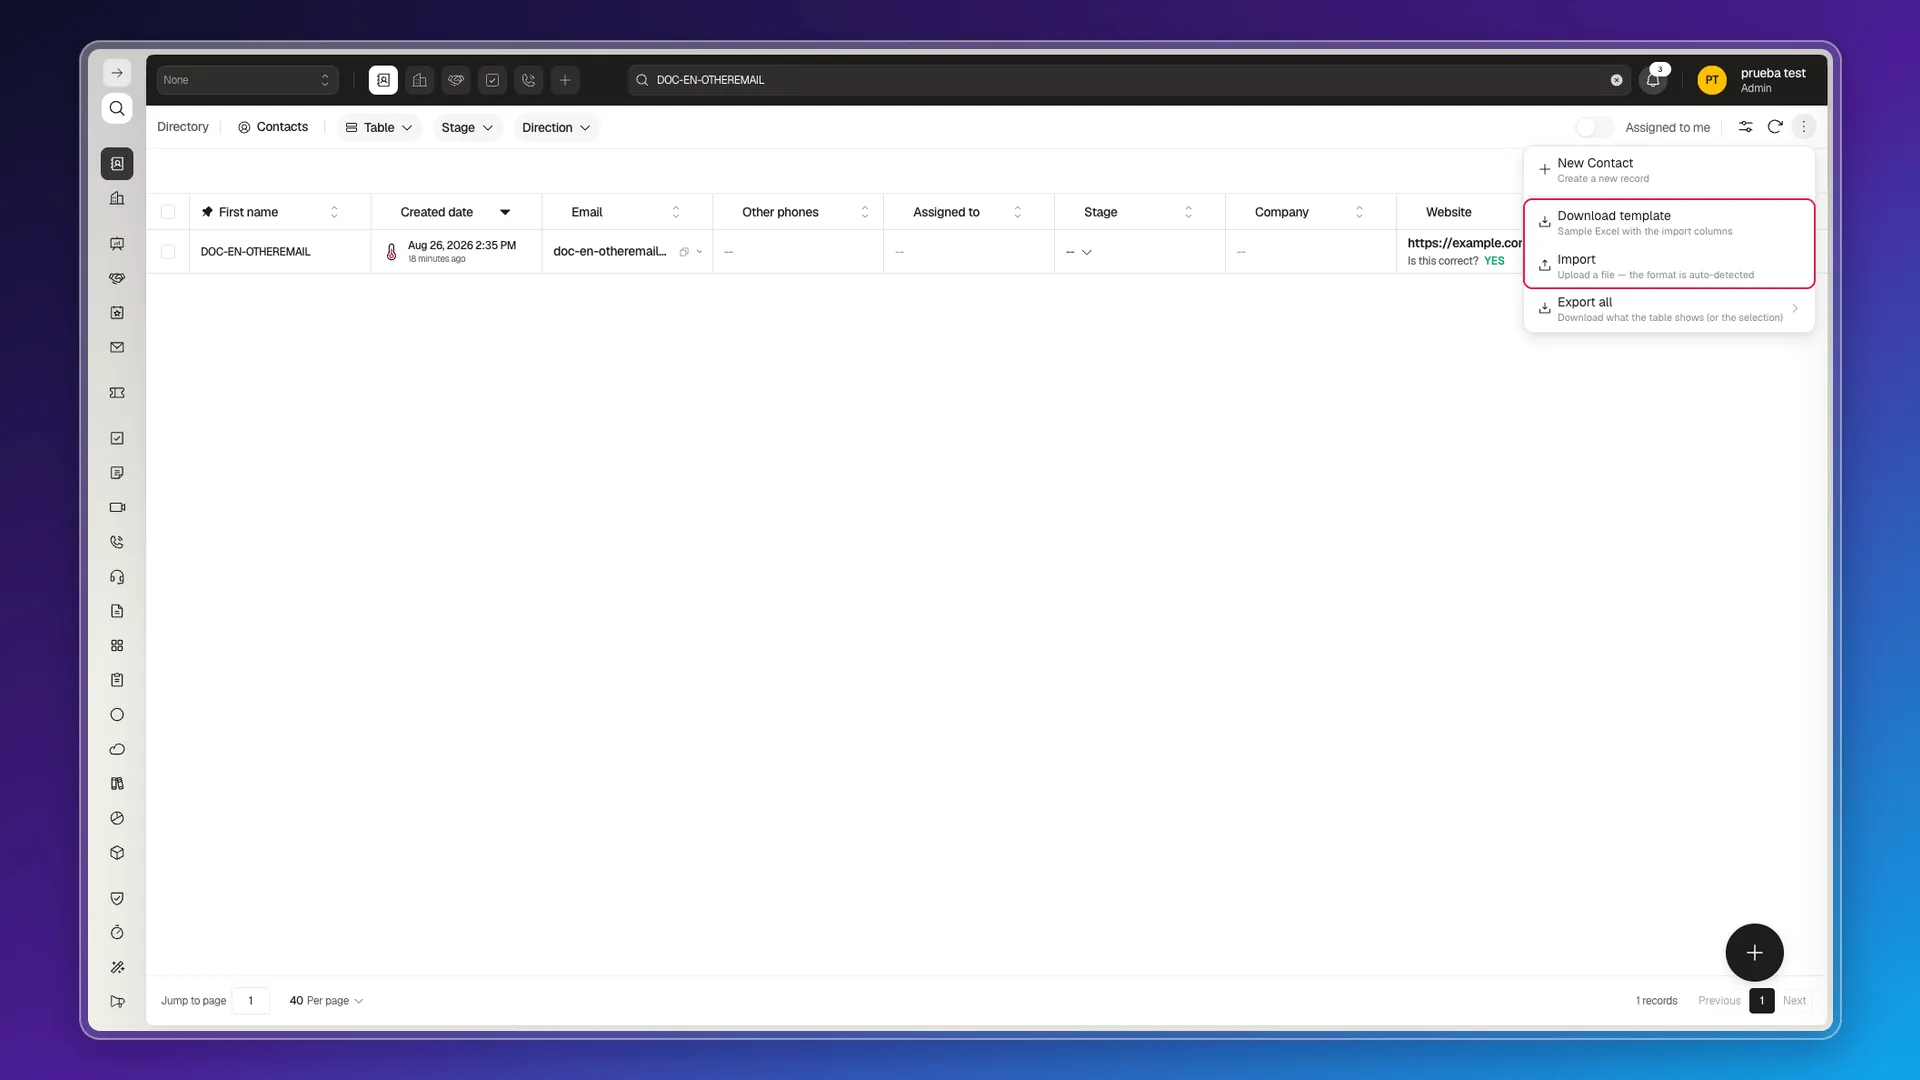
- Prepare the file — Generating a sample import file and Formatting import files.
- Upload it — Importing records for a single object, with the full walkthrough and the Deals template column by column. To load two objects in one file, Importing records for several objects.
- Fix whatever needs fixing — Editing records in bulk and Replace values in bulk.
Exporting records
Section titled “Exporting records”Exporting uses no template: tick the rows in the list, pick Export selection and the file downloads. What goes into it and in which format is covered in Exporting your records.
What is worth being clear about is that an exported file won’t work as an import template: the template keeps the structure the upload expects, and the export doesn’t.
Frequently asked questions
No. Each file matches the object you downloaded it from, so the columns differ between Contacts, Companies, Deals and the rest. Always download the template from the module you're going to load.
README holds the technical instructions and datamap defines which sheet feeds which Prolibu object. You don't enter records in either one, and you shouldn't change their headers or values.
No. Fill in only the ones you need and leave the rest empty. What you can't do is rename the headers or delete the helper sheets. One row is one record.
It's not a good idea. Exporting is for reviewing data or preparing changes, but it's the template that keeps the structure the import expects.
Yes. It lets you upload a file and create or update records in bulk, without going through the API or support.
Was this article helpful?
Thanks for your feedback!